
Spirion Instructions
Follow these instructions to run Spirion and Remediate (i.e., fix) any findings.
*NOTE: Make sure you are either on campus or logged in through VPN to redact findings.
Questions? See our Spirion FAQ or contact security at appstate.edu
Run Your First Scan
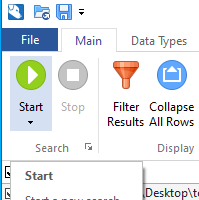
1. Double-click the Spirion icon on your Desktop to open the program.
![]()
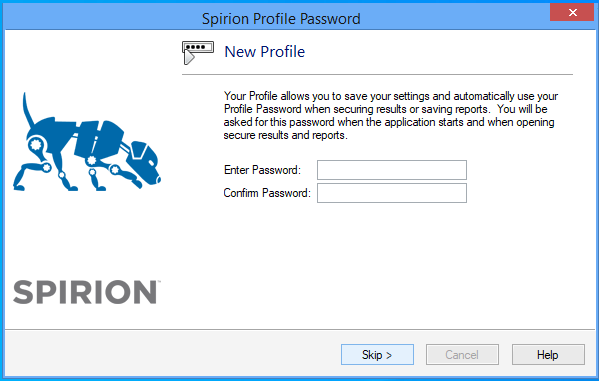
2. Create a new Spirion Profile by entering a password and click Next.
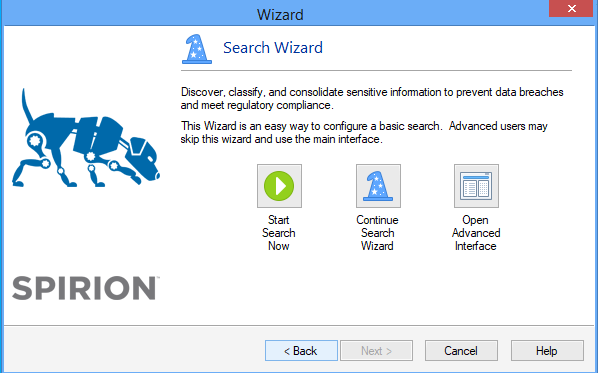
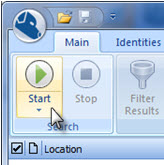
3. At the Search Wizard, select Start Search Now
During the search, the status is shown.
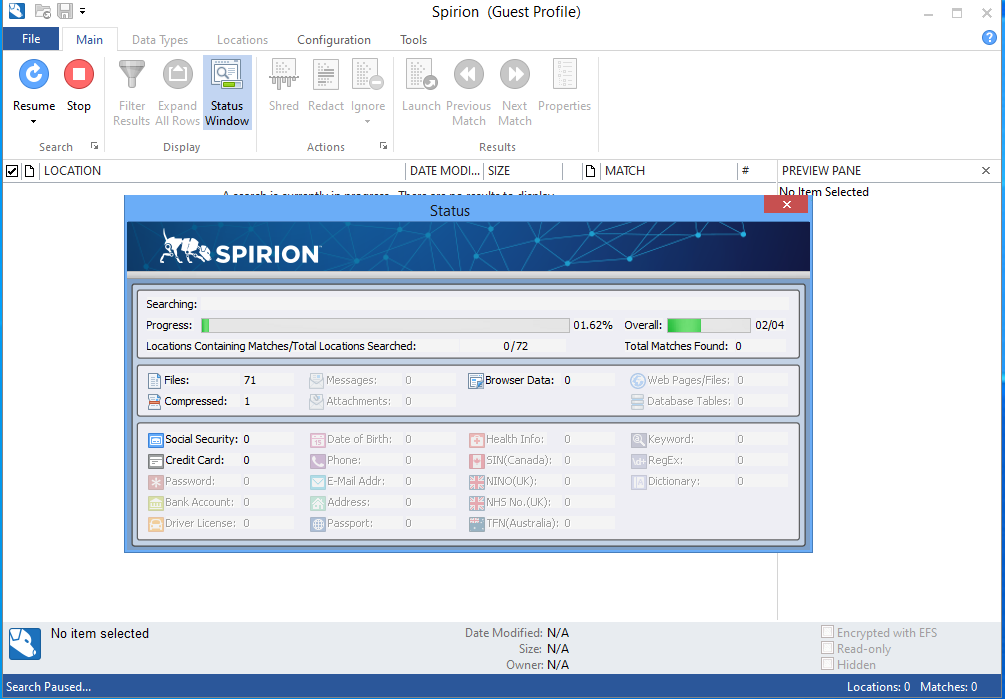
- The scan can take anywhere from 30 minutes to several hours.
- (See Tips on How to Reduce the Time of your scan).
- You can use your computer during the scan. Just don’t remediate any findings until the scan is complete.
- (Note: if your computer goes to sleep the scan will stop. If you want to run your scan overnight, reset your computer sleep settings.)
At the end of your search, you’ll have options to remediate the results.
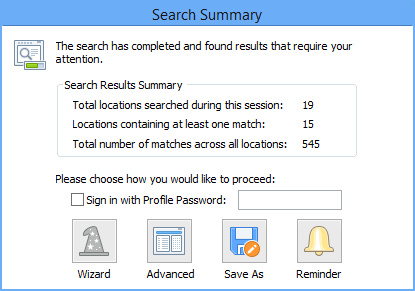
Search Results Summary
1. When your search completes, click Advanced to review the report.
To review a file, select it and review its contents in the preview pane. In the example below, the file contains Confidential Data.
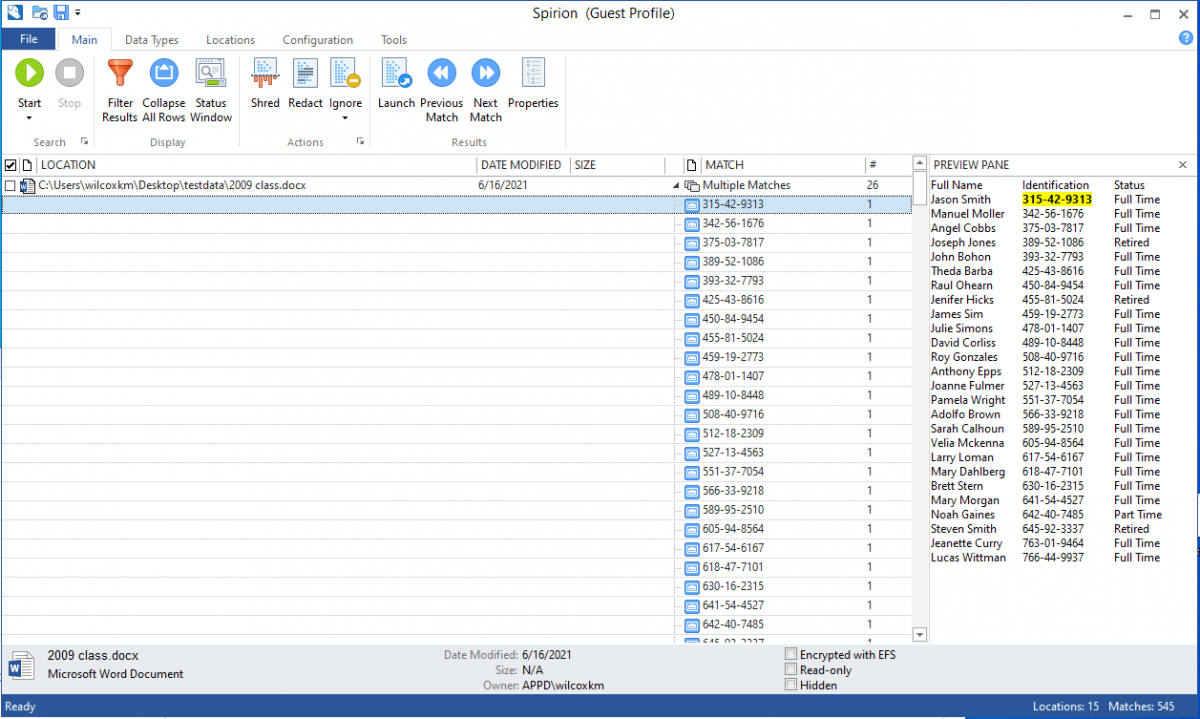
*Note: There are likely to be multiple false positive findings. Don't let this scare you!
In other cases, a file may be falsely identified as having Confidential Data:
2. To remediate a file, select:
Shred (permanently delete the file),
Redact (remove Confidential Data file from .txt, .rtf and Office files) or
Ignore (ignore false positives or files already stored on uStor from future searches).
Remember:
- If you ignore, make sure that the file is moved to uStor, already located on uStor, or does not have Confidential Information.
- If you shred, make sure that you are following our University Record Retention Requirements -- see the UNC System General Schedule and maintain records for the time specified.
- Files with Confidential Information can also be moved separately to uStor or an appropriate storage location.
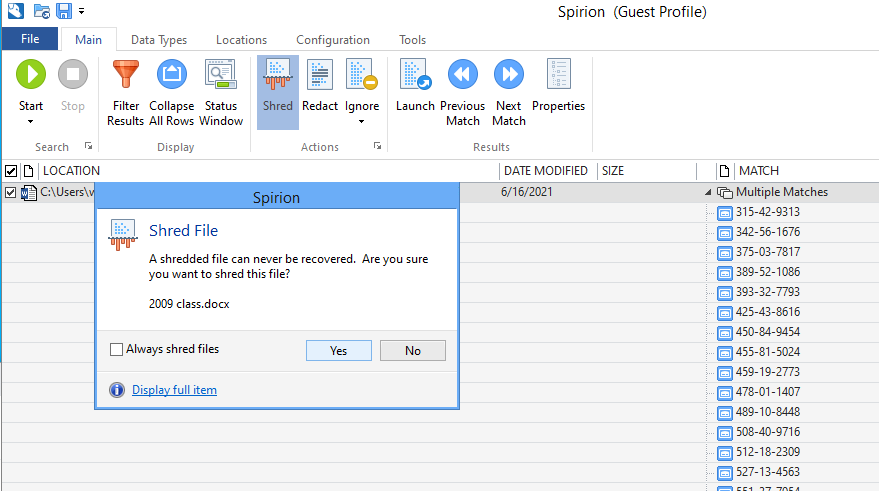
3. To Shred: Select the file you want to shred and click Shred, then Yes
4. To Redact: Select the file you want to scrub and click Redact, then Yes

5. A window will pop up after the file has been remediated, click OK, and then you will see the restricted data has been remediated from the file:
To Ignore: If, after careful review, you determine that a file identified does not contain Confidential data (a false positive) or is already stored in an approved location like uStor, select:
- The file to ignore and select Ignore -> This Item Location so the file will be skipped in future searches.

After Remediation
Once you have finished remediating the reported files and the console has no flagged files, select:
- The Main tab and click Start to obtain a clean report for your workstation for the ITS Spirion server. This scan should be much faster!
- Empty your Recycle Bin
Tips to Reduce the Time of your Scan
- If you have multiple drives and/or a USB connected drives, try running Disk Cleanup (Windows 7 instructions) and deleting temp files, and deleting your browser(s) cache files (Chrome Instructions)
- Clean your Cache
- Follow these Instructions to Clean your Cache:
- Chrome Instructions:
- On your computer, open Chrome.
- At the top right, click More More.
- Click More tools and then Clear browsing data.
- Choose a time range, like Last hour or All time.
- Select the types of information you want to remove.
- Click Clear data.
- Internet Explorer Instructions:
- Tools
- Internet Options
- Delete Browsing History (Click the box that says "Delete browsing history on exit")
- Firefox Instructions:
- In the upper right corner
- Click on the 3 horizontal bars (with one bar leaning on the third bar)
- Choose History
- Then Clear Recent History
- Set the time range to Everything
- Click Clear Now
- Chrome Instructions:
- Follow these Instructions to Clean your Cache:
- Empty your Recycle Bin
Comments about these instructions? Share them with security@appstate.edu